Tips if using Standard capture type
If you are capturing a very large individual Facebook profile, there may be too much content to capture at one time.
To capture these larger profiles, first run the expander with your desired capture settings, and let the expander complete. For more detail on the expander settings, please see our help page for Capturing Facebook.
After the Expander completes, navigate to the Portal to view the capture.
If you selected the expander option to capture comments, you will want to view the first of the two captures. Click on the thumbnail to view the capture without downloading.
Scroll down to the bottom of the capture, and you will see the date of the last post that was captured.
Back in Capture Mode/Browser, above the first post in the Facebook profile, you should see a “Posts: Filters” option.
Click the filters button and enter the date of the last post that was captured.
This will bring the posts from that date up to the top of the profile. You can then click the Expand button, and use the same Expander settings you previously used to continue capturing the profile.
Depending on the size of the profile, you may need to repeat these steps to capture the entire profile.
Tips if using Post by Post capture type
Navigate to the Facebook profile you need to capture.
Click the “Expand” button in the Page Vault menu bar.
Please verify that the correct email address is populated. If not, type in the correct email address.
You’ll see that the pixel limit will be set to 1,500,000 pixels. With this setting, the Browser will scroll the profile until complete or until the pixel limit selected is reached.
Once you’ve selected your desired Capture Options, click Expand
When you receive the scrape in your email, note the date of the last expanded post on the timeline. You’ll need that to filter to the date to continue your scrape and/or captures.
Back in Facebook, scroll back to the top (or refresh the page). Above the first post is a bar titled “Posts” with a “Filters” button on the right-hand side. Click on “Filters” (see image below).
Filter to the date of the last post in your scrape. We recommend ensuring that the last date in your previous scrape displays when you filter for the next date. Facebook’s date filtering can be buggy – if you do not see posts included in the prior scrape, you may be missing some content.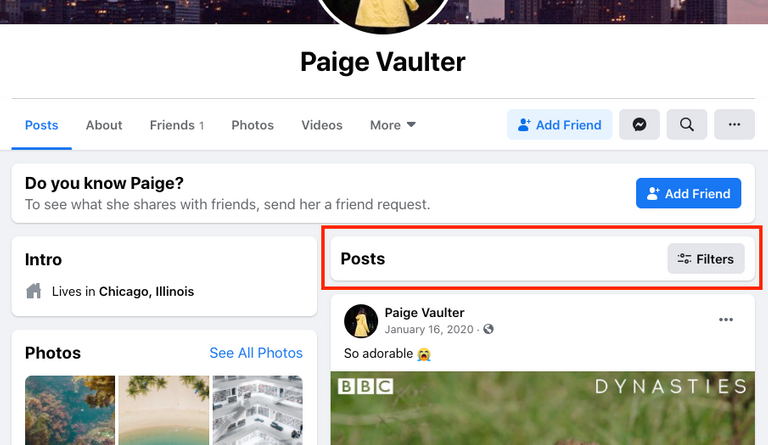
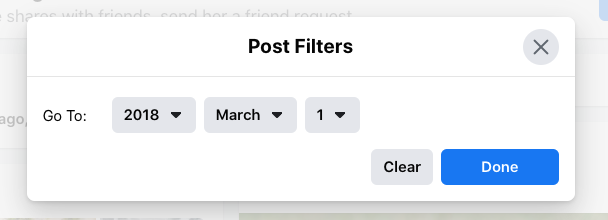
Facebook will jump down the timeline to the selected date, or the closest date before the selected date. Note that it does not actually filter, it simply jumps down the timeline to that date. If you scroll down, all posts that were generated prior to that post will load as per a normal timeline. Then repeat steps 1 through 7 until you scrape the entire timeline.
If you selected the Scrape Only Capture Option and now need to capture posts, click the Paste and Capture list of URLs Capture Option and enter the URLs of the posts you need to capture in the pop up box each on its own line. Click Ok, then Expand and Capture.